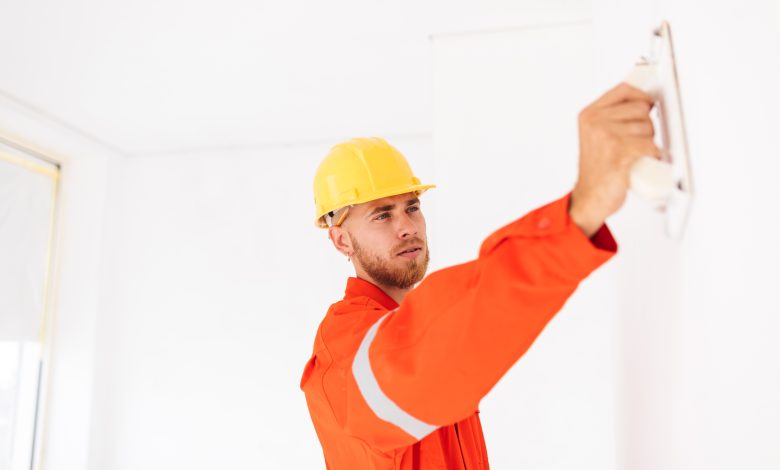
Fine-Tuning Plastering Skills – James Barzini’s Guide

Plastering walls is a skilled craft that requires a combination of technical knowledge, practical expertise, and artistic flair. In this extensive guide, James Barzini, an experienced plastering professional, shares his wealth of knowledge to help you become proficient in the art of plastering. From understanding the materials and tools to mastering advanced techniques, this guide will equip you with everything you need to achieve professional-quality results.
Introduction to Plastering
Plastering is the process of applying a smooth, durable coating to interior walls and ceilings. This coating, known as plaster, serves both functional and aesthetic purposes. Not only does it provide a level surface for painting or wallpapering, but it also enhances the visual appeal of a space. Plaster is typically made from a mixture of gypsum, lime, sand, and water, which, when combined, creates a paste that can be spread evenly over surfaces.
Understanding the Materials
Before diving into plastering, it’s essential to have a good understanding of the materials involved:
- Gypsum: Gypsum is a mineral that is commonly used in plaster formulations. It provides strength and hardness to the plaster while also improving its fire resistance.
- Lime: Lime is another key ingredient in plaster, contributing to its adhesive properties and workability. It helps the plaster adhere to the wall surface and facilitates the curing process.
- Sand: Sand acts as a filler in plaster, adding bulk and volume to the mixture. The size and quality of the sand particles can impact the texture and finish of the plaster.
- Water: Water is used to hydrate the plaster mixture, activating the chemical reactions that bind the ingredients together. The amount of water added must be carefully controlled to achieve the desired consistency.
Essential Tools for Plastering
Having the right tools is essential for achieving professional-quality results in plastering. Here are some of the essential tools recommended by James Barzini:
- Trowel: The trowel is the primary tool used for applying and smoothing plaster. Choose a trowel with a comfortable grip and a flexible blade for ease of use.
- Hawk: A hawk is a flat, square platform used to hold the plaster while working. Look for a lightweight hawk that allows for easy maneuverability.
- Plastering Float: A plastering float is used to achieve a smooth and even finish on the plastered surface. Opt for a float with a sponge or rubber base for optimal results.
- Mixing Tools: Depending on the type of plaster you’re using, you may need mixing tools such as a bucket, mixing paddle, and water measuring jug to prepare the plaster mixture to the desired consistency.
- Protective Gear: Always wear appropriate safety gear, including gloves, goggles, and a mask, to protect yourself from dust and chemical exposure.
The Plastering Process: Step-by-Step
Now let’s walk through the plastering process, step by step, with insights from James Barzini:
- Surface Preparation: Start by thoroughly cleaning the wall surface to remove any dirt, dust, or debris. Repair any cracks or holes using suitable filler material and allow it to dry completely before proceeding.
- Priming: Apply a primer to the wall surface to improve adhesion and ensure a more uniform finish. This step also helps to seal the surface and prevent moisture absorption.
- Mixing the Plaster: Follow the manufacturer’s instructions to mix the plaster to the desired consistency. Use a mixing paddle attached to a drill for efficient mixing and ensure that there are no lumps or air bubbles in the mixture.
- Applying the Plaster: Scoop a small amount of plaster onto the hawk using the trowel. Apply the plaster to the wall surface in smooth, even strokes, working from the bottom to the top. Use a feathering technique to blend any ridges or imperfections.
- Working in Sections: To maintain control and consistency, it’s advisable to work on small sections of the wall at a time. Complete each section before moving on to the next to ensure a uniform finish.
- Smoothing and Finishing: Once the plaster has been applied, use a plastering float to achieve a smooth and even finish on the surface. Lightly skim the surface with the float to remove any excess plaster and create a seamless finish.
- Drying Time: Allow the plaster to dry completely before proceeding with any further steps. This typically takes several hours or even overnight, depending on environmental conditions.
- Sanding and Finishing Touches: If necessary, lightly sand the dried plaster to remove any rough spots or unevenness. Use fine-grit sandpaper for best results, taking care not to damage the surface. Finally, you can paint the plastered surface to add color or apply a sealant to protect it from moisture and stains.
Advanced Techniques and Tips
Once you’ve mastered the basics of plastering, you can explore more advanced techniques to further enhance your skills:
- Texturing: Experiment with different texturing techniques, such as stippling or combing, to add visual interest to your plastered surfaces.
- Color Mixing: Explore the use of pigments and dyes to create custom-colored plasters that complement the overall design scheme of a space.
- Venetian Plaster: Learn the art of Venetian plaster, a decorative plastering technique that involves layering multiple thin coats of plaster to create a lustrous, marble-like finish.
- Repair and Restoration: Develop skills in plaster repair and restoration to breathe new life into old or damaged plaster surfaces.
Common Mistakes to Avoid
Even experienced plasterers like James Barzini encounter challenges. Here are some common mistakes to avoid:
- Overworking the Plaster: Avoid excessive troweling or reworking of the plaster, as this can cause it to become too stiff and difficult to work with.
- Applying Too Thick a Layer: Applying too thick a layer of plaster can result in cracking as it dries. Aim for a consistent thickness of plaster throughout the surface.
- Ignoring Environmental Factors: Pay attention to environmental factors such as temperature and humidity, as these can affect the drying time and workability of the plaster.
- Poor Surface Preparation: Neglecting proper surface preparation can result in poor adhesion and an uneven finish. Take the time to clean and prime the wall surface before plastering.
Conclusion
With the guidance and expertise of James Barzini, mastering the art of plastering walls becomes an achievable goal. By following the steps outlined in this comprehensive guide and practicing diligently, aspiring plasterers can achieve professional-quality results and transform any space with beautifully plastered walls. Remember, mastering plastering is a journey that requires patience, practice, and a commitment to continuous learning and improvement.


